grinding the heel

monk

Moderator
Staff member
::::Pledge Member::::
Joined
Feb 11, 2007
Messages
10,874
Location
washington, pa
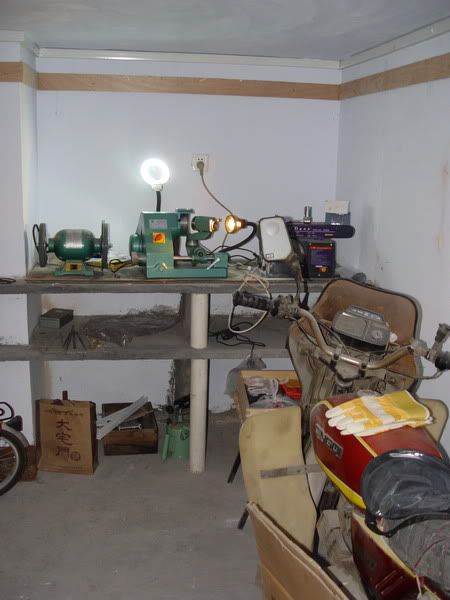
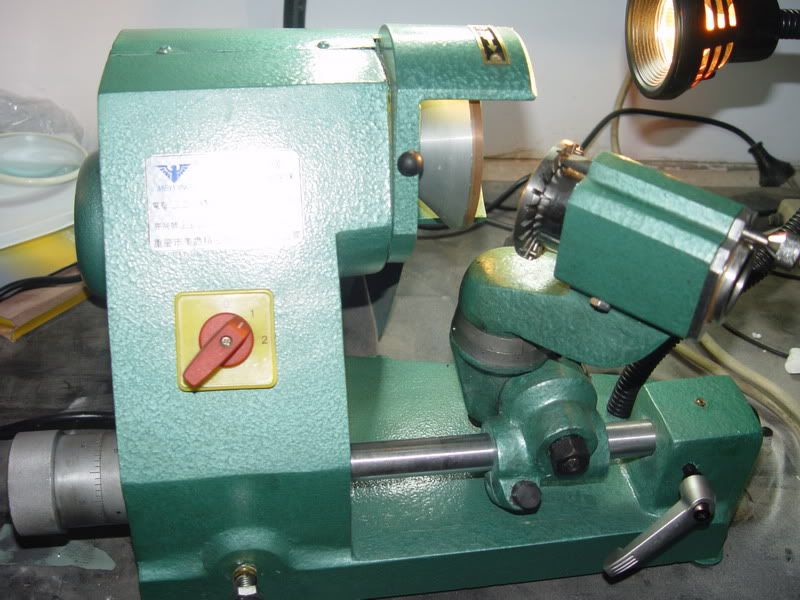
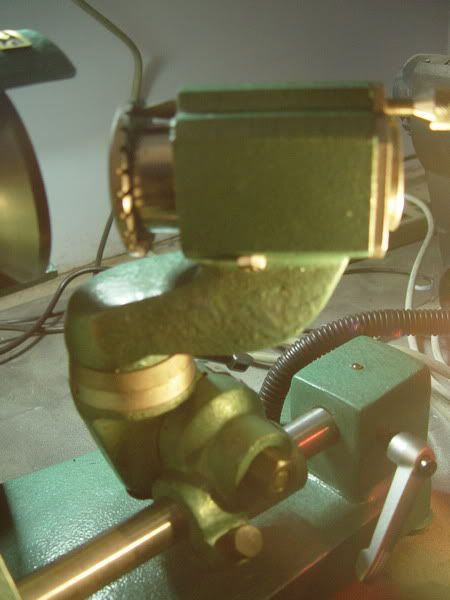
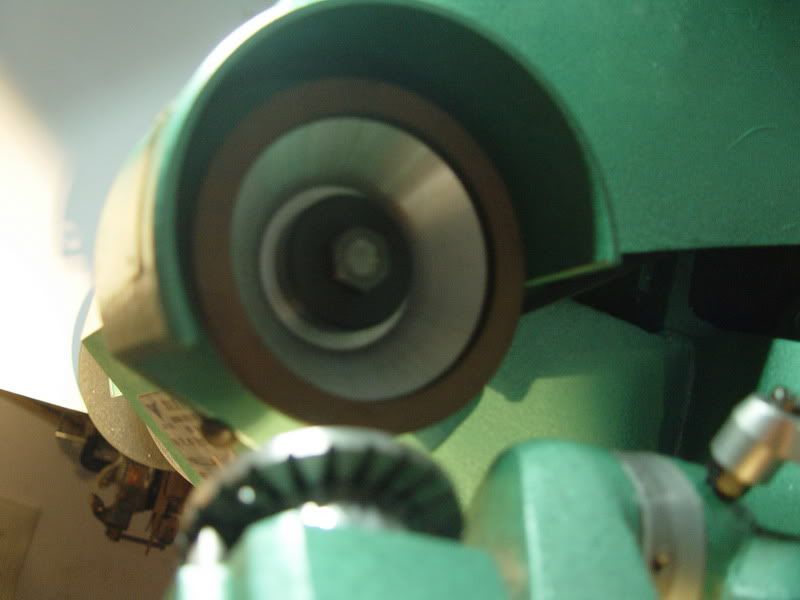
never had problems with heel grinding. now, though, using the scope, i'm going for near micro heels. i find it nearly impossible to do consistent heels on the power hone.i have switched to doing the heels just by hand. i find that the heels are easier to control doing them by hand. is this typical for scope users, or am i a dunce or doing somethin wrong ?:confused:
 

TallGary

:::Pledge Member:::
::::Pledge Member::::
Joined
Mar 16, 2007
Messages
208
Location
Plainfield, Illinois
I can't control the heel making process with the hone turning for V gravers.

I "grind" the heel on my V shape 90, 110, or 120 degree gravers with the power hone not turning using the ceramic wheel. Set the angle on the fixture to form the heel and swipe the graver back & forth 2-4 times using moderate pressure and an even stroke. Look at the heel facet on the graver -- should be a bright spot or line depending on the type of heel you are forming. If it looks good, set the fixture to the correct angle to form the other heel and use the same number of strokes, stroke length, and pressure to make the other heel.

Hope this will help.

Gary
 

Marcus Hunt

~ Elite 1000 Member ~
Joined
Nov 9, 2006
Messages
1,799
Location
The Oxfordshire Cotswolds, England
The thing is Monk, there is no right or wrong way to do things. If a particular heel works for you then use it. There is no graver geometry that someone on the planet hasn't tried and used centuries ago. If you want to use micro heels then I would suggest that doing them by hand (probably on an arkasas stone) would be the way to go but pause a moment to think on this. 'Micro' heels might be the best discovery you've ever made....for you. For others they may or may not work.

In the past the longer heel was partly a matter of economics and it took just seconds to whet the face giving the engraver a new heel. This way he could get 4 or 5 sharpenings before having to resharpen the heel. So it begs the question, how long are you spending setting up your graver and how long do they last? If micro heels take seconds to make and they work you could be onto something!
 

Sam

Chief Administrator & Benevolent Dictator
Staff member
Joined
Nov 6, 2006
Messages
10,491
Location
Covington, Louisiana
The heels on the majority of my gravers are about 1/4mm in length (from the tip back). After sharpening the face I grind the heels on the ceramic lap either by a few hand swipes (per what Gary said with the power off) or just a second or two with the power on. If my ceramic is freshly cleaned it cuts a bit better so I might not use power. If it's dirty I might use power. The object is to sharpen each side of the heel so they are symmetrical. An asymmetrical heel can 'pull' or favor one direction, so it's best to avoid that. After awhile you'll develop a feel for sharpening each side equally the first go, but if one's larger than the other than just lap the short one againo fix. The microscope will certainly show how well or poorly a graver is sharpenend!

~Sam
 

Mike Cirelli

~ Elite 1000 Member ~
Joined
Nov 8, 2006
Messages
1,690
Location
Western PA
Try a clean wheel, spray a couple of squirts of diamond while the wheel is running, fold a tissue into squares and squeegee across the wheel changing to a clean part of tissue with every swipe until the tissue is clean. It may seem like theres nothing on the wheel but there is. Touch your graver point and count a couple seconds like Sam says, do the same on the other. You may want too after that turn off the hone and swipe it across the wheel a couple times also. If you need more do it again.
This works for me.
 
Last edited:

austin

Member
Joined
Nov 8, 2006
Messages
46
I use this machina grinding my graver.


It control the dimension accurately.(1/1250 inch)
 

monk

Moderator
Staff member
::::Pledge Member::::
Joined
Feb 11, 2007
Messages
10,874
Location
washington, pa
well , i was doing this with the power on. just no good. and on the second count, sam is on the money, the gravers tend to pull away from the intended path! there never was a problem for me till the scope come along. this has changed everything. it is forcing me to be more, much more accurate in tool sharpening. i guess since i'm working on a scale quite different than i was used to over the years. thanx to all for the info. it has helped me to get my gravers where they need to be to cut properly. i've actually become quite fond of using the scope, as i believe it's making me be a more careful engraver.
 

monk

Moderator
Staff member
::::Pledge Member::::
Joined
Feb 11, 2007
Messages
10,874
Location
washington, pa
i keep thinking i wont be able to do this under the scope, yet i feel a serious compulsion to to do it any way. the scope takes me much longer now, but it does make me work more carefully and i think the quality of my work is slowly improving. i sure don't gripe about improving things, even if more time is needed- i like the idea of the quality getting better.
 

Brad Hartliep

Member
Joined
Apr 28, 2007
Messages
26
Location
Currently Springtown, Texas
I put my graver on the power hone and just touch each side of the heel to the wheel about a second, then inspect it under a jewelers loupe (or a microscope would probably work better) and hand swipe until both sides are perfectly equal - I leave the power hone turned off and turn the wheel by hand about 3/8 of an inch at a time until I get the heels to match up perfectly. Very lightly strop the heel point one time back to front for about 3/8 of an inch (the measurements are not exact - just make short, smooth, light strokes). A very small heel but could probably be smaller under a microscope (I still use optivisor). I got this tip from Johnny Weyert. Seems to work pretty well for him and he uses a microscope...
 
Top