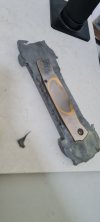
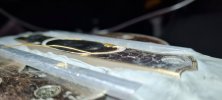
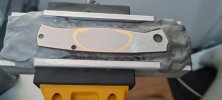
I had another go today and (hopefully) have gotten it all in securely and without any teeth sticking out.
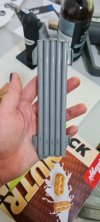
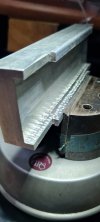
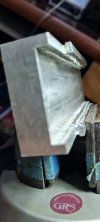
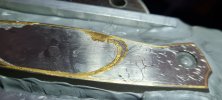
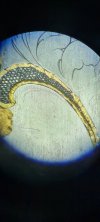
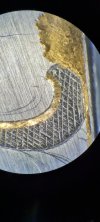
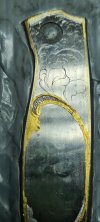
Much swearing was done. I had to recut the teeth a couple of times. I think point geometry was getting a bit too steep, and the point too dull, it just wasn't always cutting a tooth so much as shoving a rounded groove into the metal. there was not really any flat metal showing without teeth when I was done.
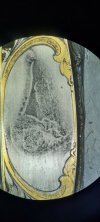
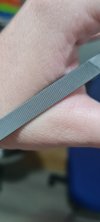
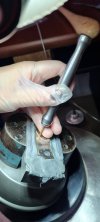
we made a skirt to catch the gold. I think I heard somewhere fill the file with chalk then swipe. is this file OK? then stone, then sand minimally.
Much swearing was done. I had to recut the teeth a couple of times. I think point geometry was getting a bit too steep, and the point too dull, it just wasn't always cutting a tooth so much as shoving a rounded groove into the metal. there was not really any flat metal showing without teeth when I was done.
we made a skirt to catch the gold. I think I heard somewhere fill the file with chalk then swipe. is this file OK? then stone, then sand minimally.
Attachments
-
 20230115_192512.jpg55.5 KB · Views: 101
 -
 20230115_143235.jpg81.4 KB · Views: 94
 -
 20230115_141718.jpg87.3 KB · Views: 96
 -
 20230115_140120.jpg98.7 KB · Views: 96
 -
 20230115_191725.jpg80.7 KB · Views: 94
 -
 20230115_135844.jpg64.8 KB · Views: 92
 -
 20230115_135913.jpg52.6 KB · Views: 97
 -
 20230115_143137.jpg104.4 KB · Views: 102
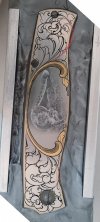
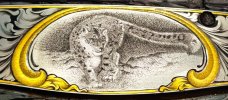
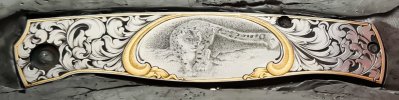
") I would have done it a little different today though.. instead of putting the gold first, I would have engraved all the outlines and then put the gold.. then backgroound removal and shading at last
I would have done it a little different today though.. instead of putting the gold first, I would have engraved all the outlines and then put the gold.. then backgroound removal and shading at last